

To start with, how to make paper fan decoration?
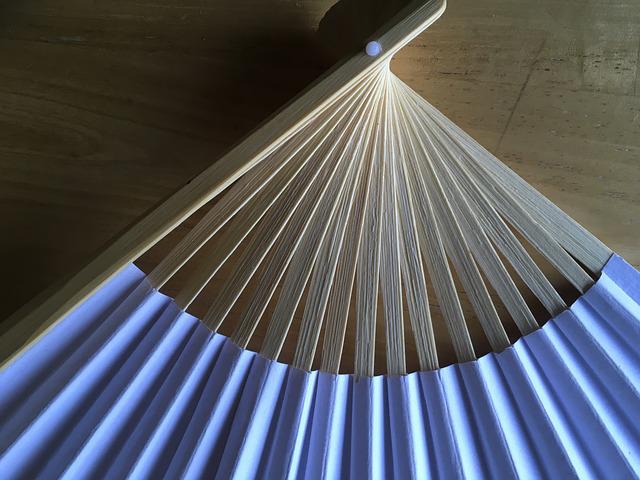
Use twine and some folded colored paper to make decorations that look professional. You can create big, small, layered, or miniature paper fan decorations that are ideal for the Platinum Jubilee celebrations.
They’re simple, inexpensive, and effective at enlivening your party area. Collect in a group behind the buffet table, hang from a door or window, or hang from the edges of a gazebo.
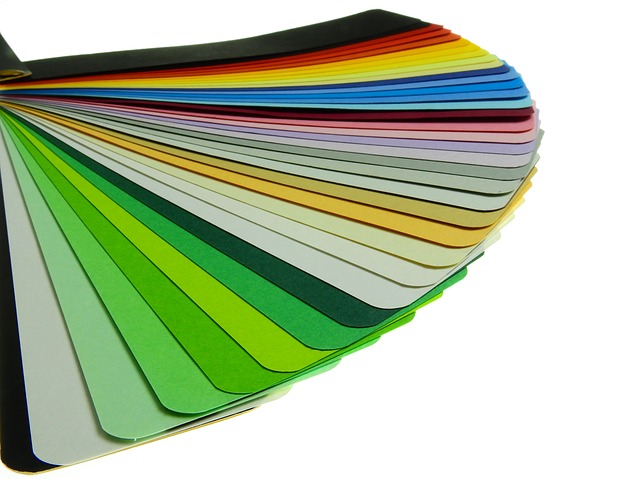
Use any papers you have at home, or use red, white, and blue. It’s a fantastic recipe for using up odd bits of wrapping paper as well.
Please continue reading for more thorough instructions on how to make paper fan decorations.
Table of Contents
Method 1:How To Make Paper Fan Decoration
Supplies On How To Make Paper Fan Decoration
- Paper (wallpaper, craft paper or wrapping paper will all work well)
- String
- Glue
- Paperclips
- Scissors
- Glue Gun (optional)
Instructions On How To Make Paper Fan Decoration
- Make sure to cut a paper rectangle with the length being roughly twice as long as the width.
- Every couple of cm, start to fold the paper in concertina fashion. When you get to the end of the rectangle, continue folding the paper back and forth. Simply use your scissors to remove any overlaps.
- Fold the concertinaed paper in half, bringing the ends together as you do so.
- You can now shape the paper’s ends. They can be cut at an angle to resemble a star, or you can curve the cut to resemble a flower.
- The next step is to wrap a piece of string around the middle. For the paper fan decoration, this will serve as the hanger.
- The string should hang off one end and be laid flat along the paper’s center.
- After applying glue to the paper’s surface, fold the two edges together and sandwich the string between them.
- Once the glue has set, apply firm pressure and hold.
- Open the circle fan up and fasten the opposite side with paperclips at the back of the fan, out of sight from the front..
The other side of the circle fan can now be fastened with glue rather than paperclips if you prefer a more durable paper fan decoration. - Enjoy hanging your DIY paper fan decorations!
Method 2: How To Make Paper Fan Decoration
Supplies On How To Make Paper Fan Decoration
- One small roll of wrapping paper (20 sq ft, the roll was about 18″ tall and I got it on the dollar aisle at Target)- This will make 4 large fans)
- 14 sheets of coordinating 12″x12″ scrapbook paper (2 matching sheets for each of the 6 fans, plus 2 for the centers)- This will make 6 small fans
- 10 Twist Ties, or pieces of curling ribbon or string
- Scotch tape
- Hot glue gun and hot glue sticks
- 1 Large piece of cardboard (mine was approx 3’x1′ and I cut it off of a box we got in the mail)
- Scissors
Instructions On How To Make Paper Fan Decoration
Fold Accordion Style
The large fans will be made first. Fold the length of the wrapping paper in half, about 1.5 to 2 inches. As closely as you can, fold this fold back over the top after flipping it over.
Continue accordion-style folding the paper until you have made 20 folds, then cut it off evenly.
Take your folded stack of paper, compact it, then fold it in half and crease it.
In order to prevent the paper from curling, tightly tie a twist tie, piece of curling ribbon, or string around the center crease.
Fan Out The Folds
Now spread out the folds until the ends meet, using the fold as the center of your circle.
Now tape the ends together with your clear Scotch tape.
With the scrapbook paper, you will repeat the process, but each piece will only create half of a fan, while securing two pieces together will result in a full fan.
Cut Out Circles
On the remaining scrapbooking paper, make 10 circles by cutting them out. I cut out the centers of the circles after tracing them onto a glass from my kitchen.
To the centers of the fans, hot glue the circles.
You should set up your backdrop now that all of your fans have been made.
Lay out your fans as you would like them to appear using the cardboard as a base. Make sure they overlap at certain points and at least all of the larger fans make substantial contact with the cardboard. I filled in the small fans after I finished my large fans to achieve the ideal appearance.
Secure Your Paper Fans
The hardest part for me was the subsequent step. I used my phone to take a photo of it before taking it apart again to reveal the four large fans. After that, glue the fans to the cardboard base in as many locations as you can using the ridges that are in contact with the cardboard and your glue gun.
By adhering them to the base of the larger fans, layer in your smaller fans.
As complicated as I may have made that sound, it was actually quite simple and took me only a little over two hours to finish.
Method 3: How To Make Paper Fan Decoration
Supplies On How To Make Paper Fan Decoration
- Decorative Paper
- Scissors
- Glue
- Clothes Pins
- String
Instructions How To Make Paper Fan Decoration
1. Get a piece of paper that is square to start.
2. Fold in half.
3. By a half-inch, fold one side in.
4. Up until the end of the sheet, keep accordion-style folding down the length of the sheet.
5. Make an effort to align the first and last folds in the same direction. If you’re using paper with a design on only one side, this is especially crucial.
6. Use a double knot to tightly secure a piece of string by wrapping it around the center.
7. Spread the string out on each side, then join the edges with glue. Prior to the glue setting, secure with a clothespin.
8. Before removing the pins, give the glue for each fan 5–10 minutes to dry.
9. Up until you reach your desired number of followers, repeat the process!
Tips and Troubleshooting
-A rectangle must be the shape of your paper. Fold a square sheet of paper in half if you have one (as we’ve demonstrated in the tutorial above). Two square paper sheets can be folded accordion-style for a larger fan, which you can then glue together before gluing on your string. Your paper should be cut into smaller rectangles if you want a smaller fan.
-If you’re using decorative paper with a design on only one side, make an effort to make sure the first and last folds of your accordion are facing in the same direction.
-To prevent your fan from spreading out more on one side than the other, place your string right in the middle.
Read about: How To Decorate An Unused Fireplace In Ideal Ways?
Ways To Hang Paper Fan Wall Decorations
These homemade decorative paper wall fans are much simpler to hang because the strings are already attached.
I frequently hang the circle fan decorations on self-adhesive hooks that I have mounted to the wall.
They look fantastic when arranged collectively, particularly if you made them in various sizes and patterns or colors.
I used leftover William Morris wallpaper to create each and every one of them.
However, it is also true that the circle fans look lovely when they are set on a shelf or mantle.
Final Words
So, how to make paper fan decoration?
Despite being one of the most basic origami designs, folded paper fans are charming and elegant, making them ideal for use as place settings, party favors, or embellishments on gifts. You can make fans of any size as well: tiny fans for dolls or stuffed animals, or larger ones to cool off in the summer. Use any paper type and any print to make them uniquely yours. They are the best rainy-day activities for any age because of their adaptability and simplicity.
I appreciate your reading. Have a nice day!